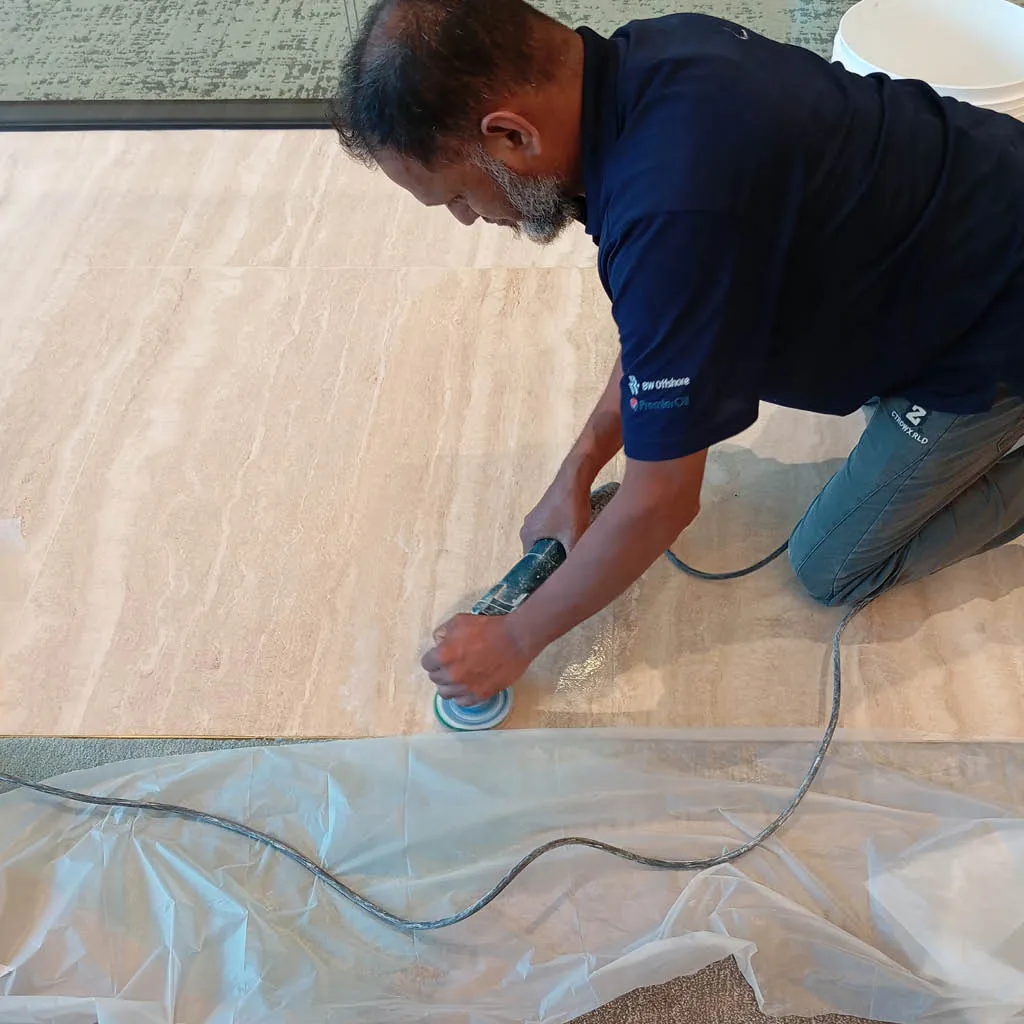
Repolish of marble flooring, adjacent carpet is covered for protection
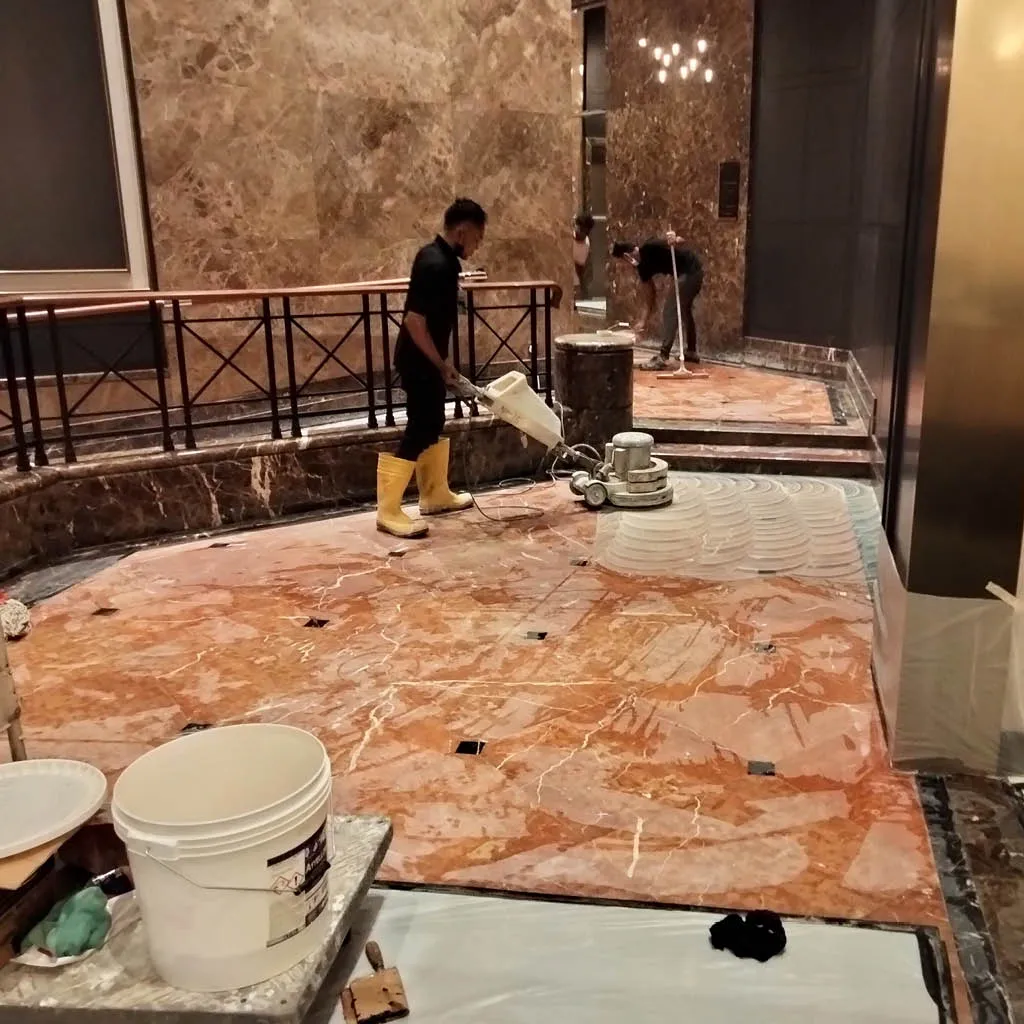
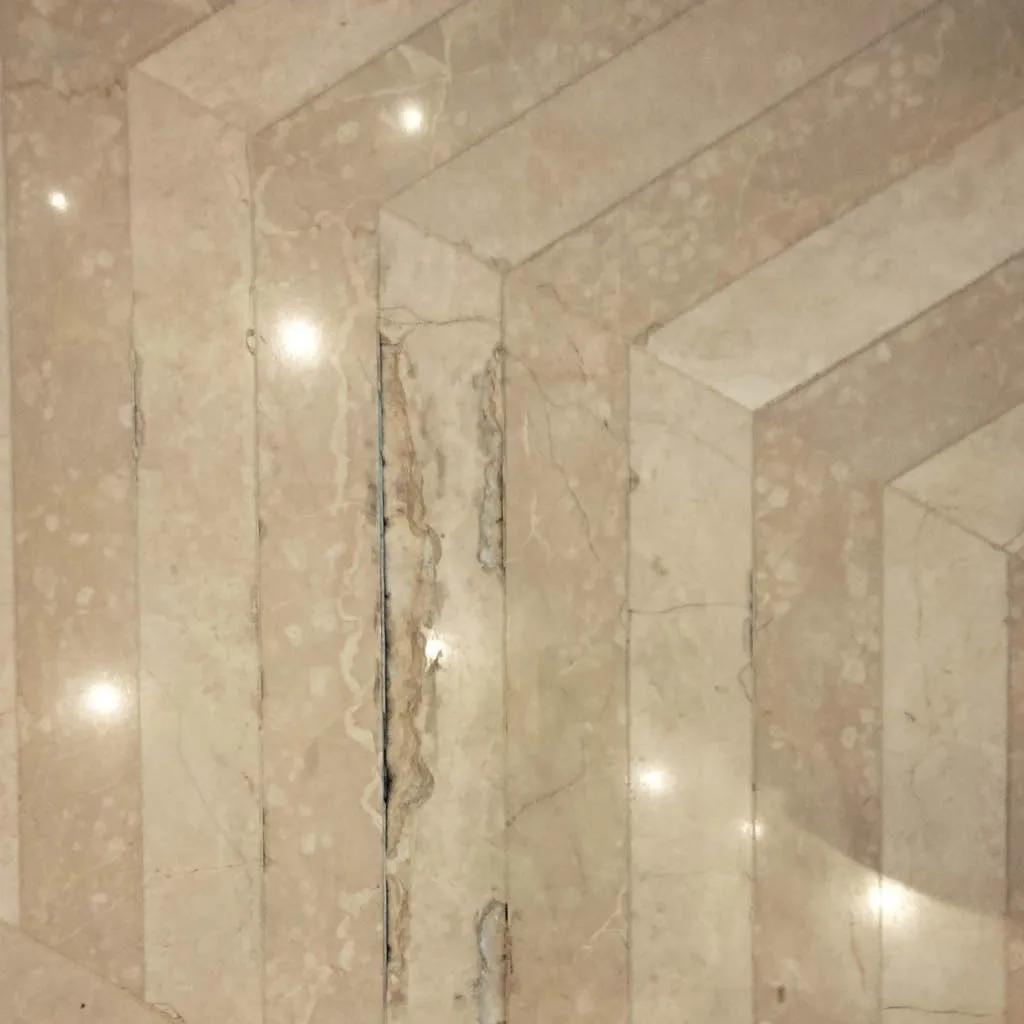
Repair and repolish of marble and granite surfaces in a hotel lobby
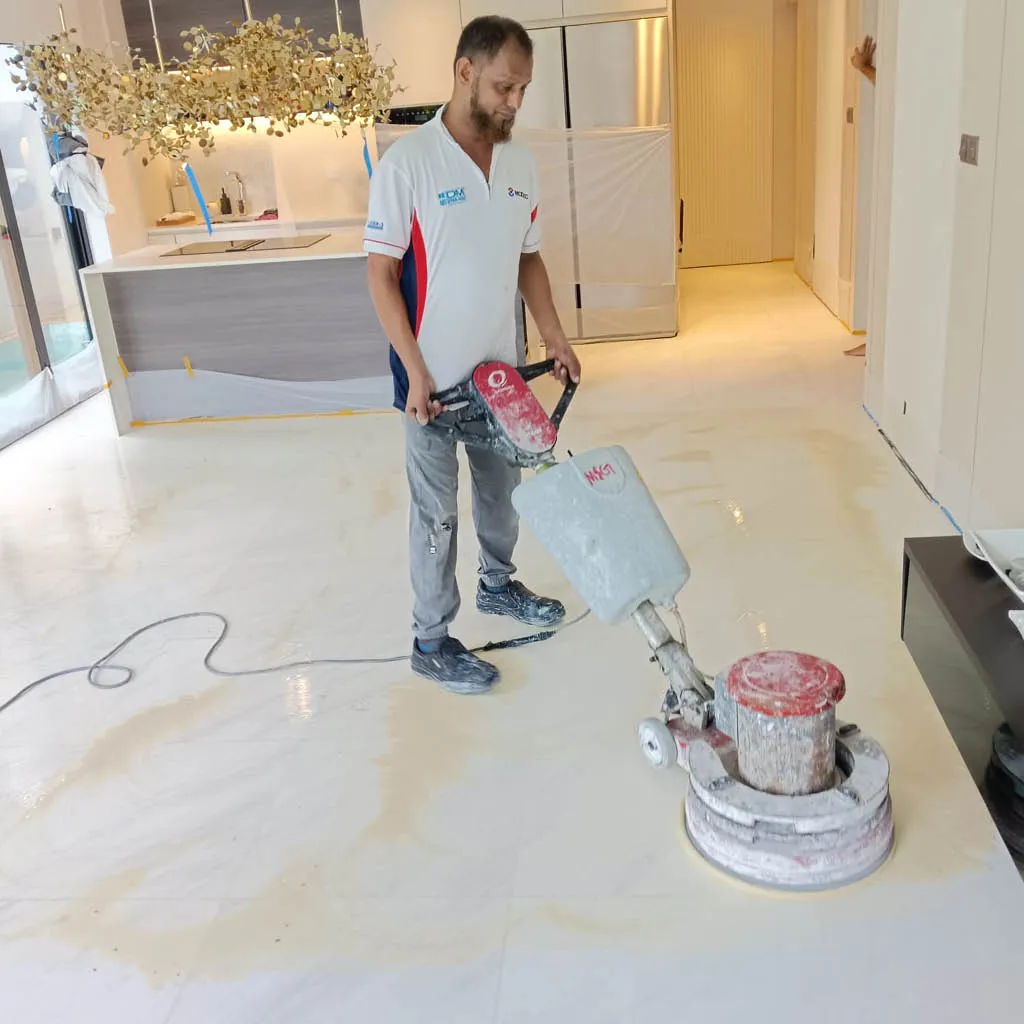
Marble renewal for a residential project
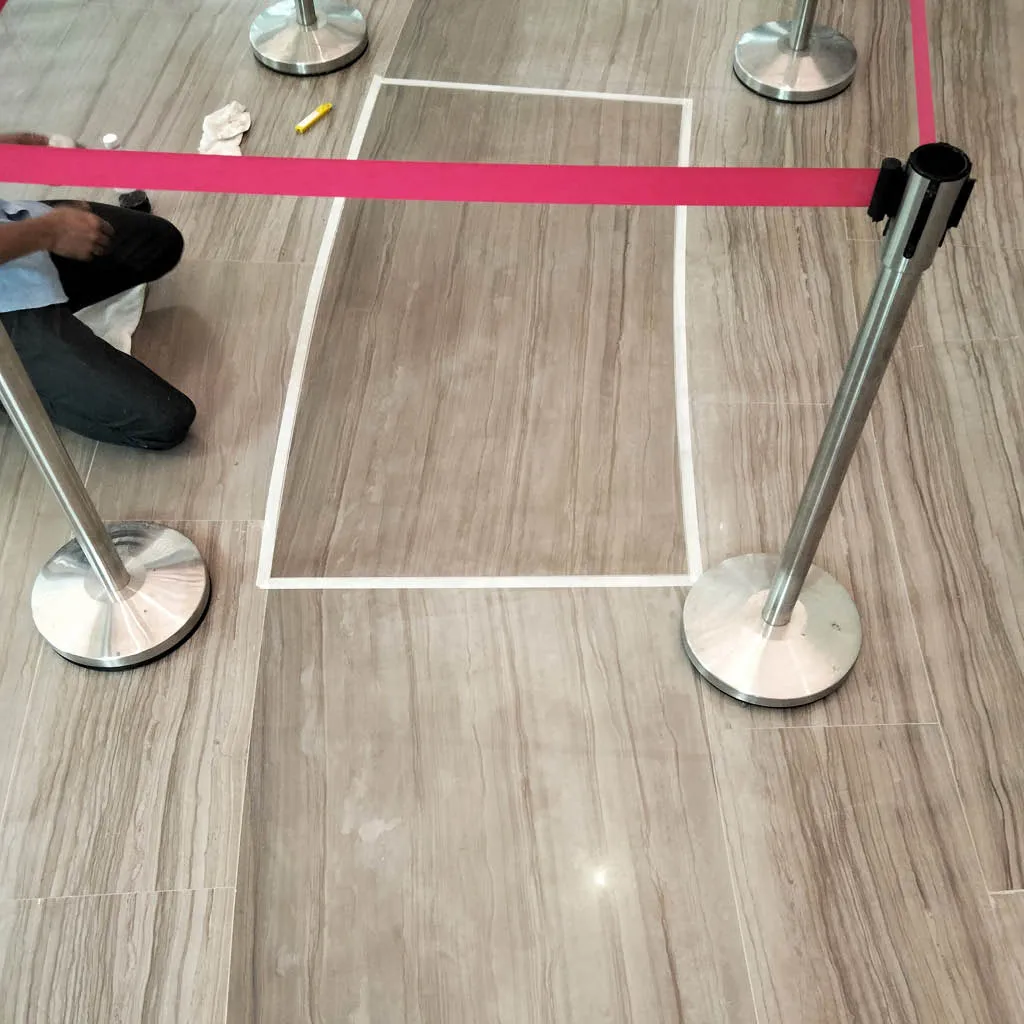
Prep work for colour matching treatment for dark marble tile flooring
(Before) Chips and cracks on marble flooring in a hotel lobby
Prep work for colour matching treatment for dark marble tile flooring